Company Address
No. 6668, Section 2, Qingquan Road, Qingbaijiang Dist., Chengdu, Sichuan, China


● Product Parameters
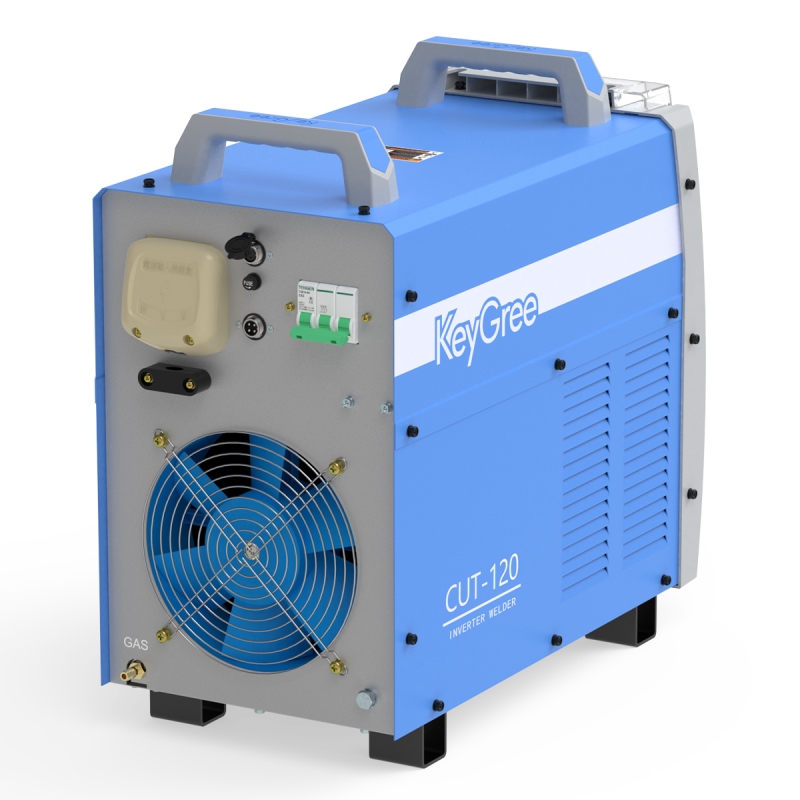
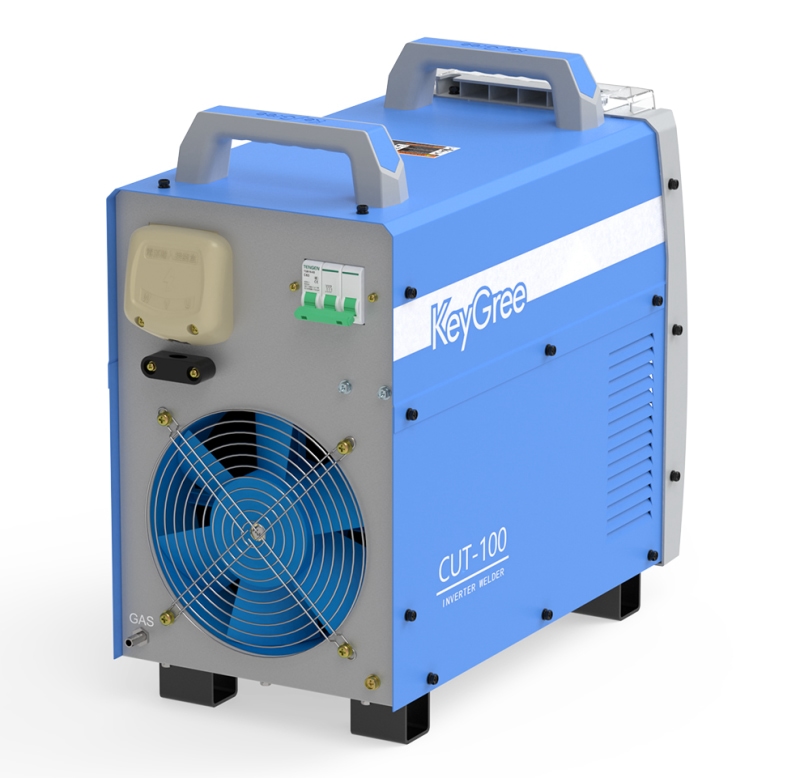
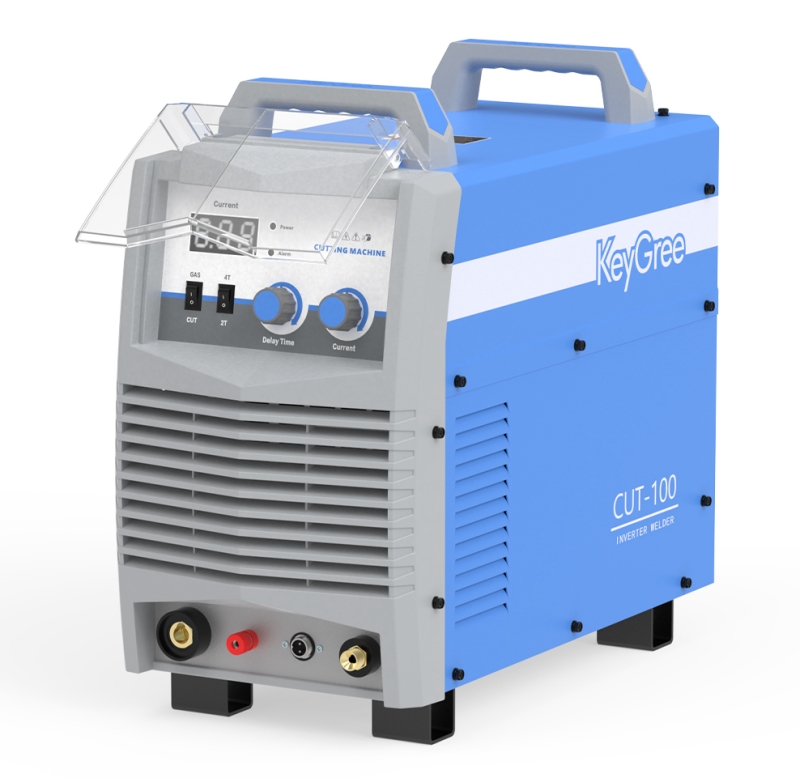
| MODEL | CUT-60 | CUT-80 | CUT-100 | CUT-120 |
| Rated Input Voltage(VAC) | 1/2P-220/380V | 3P-380V | ||
| Frequency(Hz) | 50/60 | |||
| Rated Input Power(KVA) | 9.8 | 12.4 | 16.7 | 21.3 |
| Max Input Current(A) | 44.3 | 18.9 | 25.3 | 32.4 |
| Duty Cycle(%) | 60 | |||
| No-Load Voltage(V) | 278 | 301 | 308 | 309 |
| Adjustable Current Range(A) | 30-60 | 30-80 | 30-100 | 30-120 |
| Arc lgnition Mode | HF | HF,NO touch | ||
| Gas Pressure Range(Mpa) | 0.3-0.5 | |||
| Quality manual Cutting Thickness(MM) | 15/carbon steel | 7/stainless steel 1 5/carbon steel | 1 0/stainless steel 20/carbon steel | 12/stainless steel 25/carbon steel |
| Quality CNC Cutting Thickness(M) | 一 | / | / | 1 0/carbon steel 6/stainless steel |
| MAX Manual Cutting Thickness(MM) | 22 | 25-30 | 40 | 50 |
| Efficiency(%) | 80 | 80 | 85 | 90 |
| Net Weight(KG) | 12 | 21 | 26 | 32 |
| Machine Dimensions(MM) | 470x230x460 | 505x245x445 | 535x265x490 | 570x285x520 |
● Manual non-contact cutting
(1) Touch the torch roller to the workpiece, and adjust the distance between the nozzle and the workpiece plane to 3-5mm. (When the main machine is cutting, set the "Cutting Thickness Selection" switch to high-grade).
(2) Turn on the cutting torch switch, ignite the plasma arc, and after cutting through the workpiece, move at a uniform speed in the cutting direction. The cutting speed is: on the premise of cutting through, it should be fast rather than slow. Too slow will affect the quality of the incision, or even break the arc.
(3) After cutting, turn off the cutting torch switch, and the plasma arc is extinguished. At this time, the compressed air is sprayed out after a delay to cool the cutting torch. After a few seconds, the spraying will stop automatically. Remove the cutting torch to complete the whole cutting process.
● Manual contact cutting
(1) The "Cutting Thickness Selection" switch is set to the low gear, which is used when cutting thinner plates with a single machine.
(2) Place the torch nozzle at the starting point of the workpiece being cut, turn on the torch switch, ignite the plasma arc, cut through the workpiece, and then move at a uniform speed along the cutting direction.
(3) After cutting, turn on and off the cutting torch switch. At this time, the compressed air is still spraying out, and the spraying will stop automatically after a few seconds. Remove the cutting torch to complete the whole cutting process.
● Automatic cutting
(1) Automatic cutting is mainly suitable for cutting thicker workpieces. Select the "cut thickness selection" switch position.
(2) After the cutting torch roller is removed, the cutting torch is firmly connected with the semi-automatic cutting machine, and there are connecting parts in the random accessories.
(3) Connect the power supply of the semi-automatic cutting machine, and install the guide rail or radius rod according to the shape of the workpiece (if it is a guide rail for straight-line cutting, if cutting a circle or arc, you should choose a radius rod).
(4) If the torch switch plug is removed, replace it with the remote switch plug (available in the accessories).
(5) Adjust the appropriate walking speed according to the thickness of the workpiece. And set the "upside down" and "downward" switches on the semi-automatic cutting machine to the cutting direction.
(6) Adjust the distance between the nozzle and the workpiece to 3-8 mm, and adjust the center position of the nozzle to the starting strip of the workpiece slit.
(7) Turn on the remote control switch, and after cutting through the workpiece, turn on the power switch of the semi-automatic cutting machine to start cutting. In the initial stage of cutting, you should always pay attention to the cutting seam and adjust to an appropriate cutting speed. And always pay attention to whether the two machines are working normally.
(8) After cutting, turn off the remote control switch and the power switch of the semi-automatic cutting machine. So far, the whole process of cutting is completed.

No. 6668, Section 2, Qingquan Road, Qingbaijiang Dist., Chengdu, Sichuan, China
+86 13587752681